Homemade Dairy-Free Ice Cream From Beginner to Advanced: The Complete Master Guide
Published on June 11, 2026
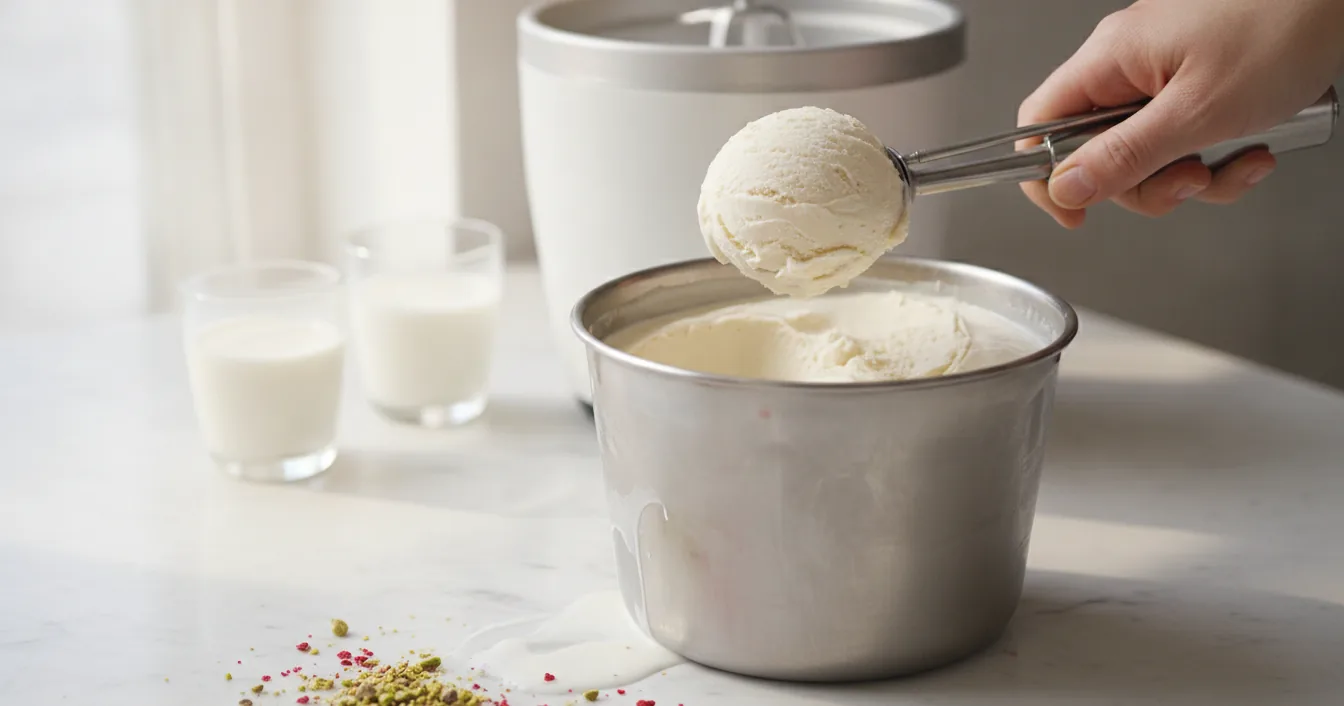
Every recipe on this site, the shakes, the sorbets, the custom pints, traces back to one set of fundamentals: how a cold liquid base turns into something smooth, scoopable, and completely dairy-free. This is that reference. It walks from a first no-churn batch you can make tonight to a dialed-in custom base you formulate yourself, and it explains the why behind each step so you can troubleshoot your own results instead of guessing. Dairy-free is genuinely harder than dairy here, because cow’s milk delivers fat and protein in one neat package and plant ingredients almost never do. Get the fundamentals right and that gap all but closes.
Pick Your Equipment Tier
There are three rough tiers, each a different level of control.
Tier 1, no-churn. No machine at all. You beat air into the base by hand or with a mixer, then freeze it. Cheapest possible entry, the least control over ice crystal size, and best suited to rich coconut or cashew bases whose fat hides a slightly coarser texture.
Tier 2, the freezer-bowl machine. A bowl you pre-freeze for a full day, then churn for 20 to 30 minutes. This is the most common home setup, usually twenty to fifty dollars, and a real jump in smoothness because it freezes the mix while it whips.
Tier 3, the compressor machine. A built-in freezer means no pre-chilling and back-to-back batches. A few hundred dollars buys the closest a home cook gets to scoop-shop control over temperature and aeration.
You can make excellent ice cream at any tier. The tier mostly sets how forgiving your recipe has to be: the lower you go, the more fat, sugar, and stabilizer you need to stay smooth.
Start Here: The No-Churn Batch
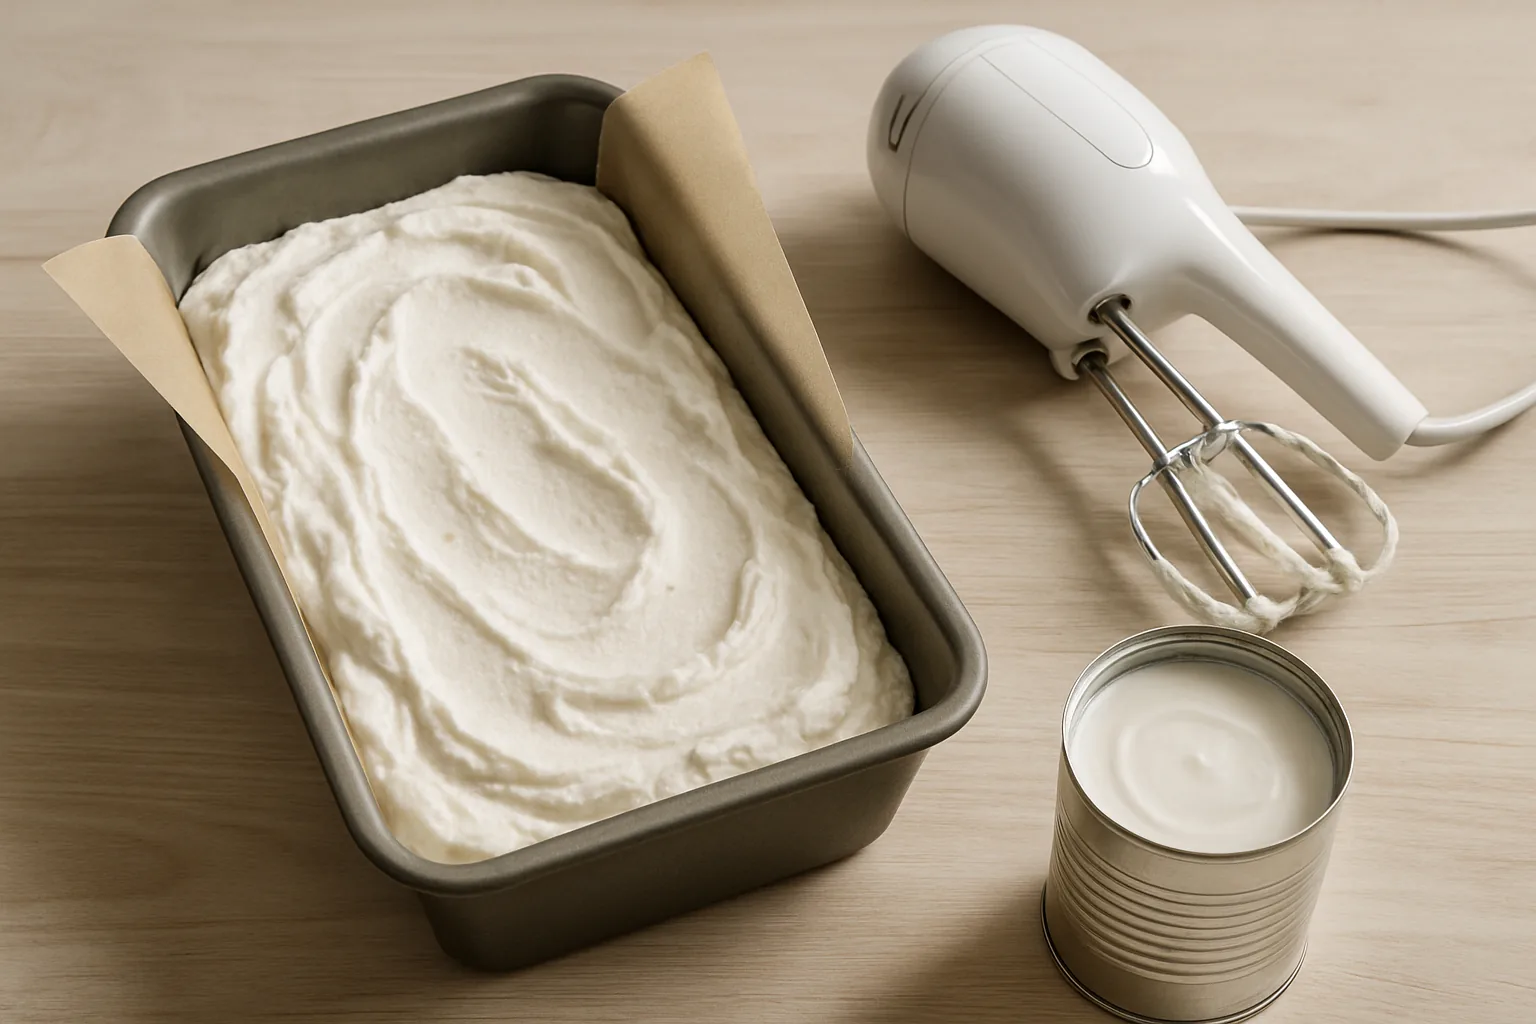
If you have never made frozen dessert before, start no-churn tonight. The method is forgiving. Chill two cans of full-fat coconut cream, whip the thick part until it holds soft peaks, then fold in about a cup of sweetened condensed coconut milk and a tablespoon of vanilla. The whipping beats in the air a machine would add, and the sugar in the condensed milk keeps the mix from freezing rock hard. Spread it in a loaf pan, press parchment against the surface, and freeze for six hours. (The popular no-churn lactose-free versions making the rounds online all follow this same shape.) It will not be quite as smooth as a churned batch, but it teaches you exactly what aeration and sugar do, which is the entire point of starting here.
Choosing a Plant Base
The base is the first and biggest decision, because it sets the fat, the protein, and the background flavor that everything else has to work around. High-fat bases like coconut and cashew scoop rich with very little help. Protein-forward bases like soy and pea set firm and melt slowly even when lean. Light bases like almond, oat, and rice bring neither in quantity, so they freeze icy unless you boost them. The full plant milk base guide breaks down all six, but the short version for a home churner is this: start with coconut or cashew for your first custom batch, because their fat makes the recipe forgiving, then graduate to oat, soy, or pea once you can compensate for lower fat with extra solids and stabilizer.
Advanced cooks can go one step further and build the base from scratch. Blending and straining your own nut or oat milk lets you control fat, sweetness, and thickness from the very first step, and a homemade plant milk built deliberately thick (less water than the cartons) gives a noticeably richer freeze.
The Formula: Fat, Solids, Sugar, Stabilizer
A good dairy-free ice cream is mostly a balance of four numbers.
Fat coats the ice crystals and keeps them small, which is what reads as creamy on the tongue. Aim for roughly 12 to 18 percent fat in the finished mix for a premium scoop. Go below that and you have to lean on the other three numbers to fake the richness.
Total solids, meaning everything that is not water (fat, sugar, protein, fiber, stabilizer), want to land somewhere around 38 to 42 percent. Solids displace water, and less free water means less ice. This is why a thin almond base needs added oil or protein and why thick coconut cream barely needs help.
Sugar does two jobs at once. It sweetens, and it depresses the freezing point so the dessert stays soft enough to scoop straight from the freezer. Too little and the pint sets like a brick. The sweetener reference covers how each sugar shifts that freezing point, but the working range is about 16 to 22 percent of the mix.
Stabilizer is the smallest number and the easiest to overdo. Gums such as guar, locust bean, and xanthan bind free water and slow the melt at fractions of a percent, usually 0.2 to 0.5 percent of the total. The stabilizer and emulsifier guide explains how to blend them; the rule for now is simply to start low, because too much gum is exactly what turns a scoop gummy.
Churning and Aeration
Churning does two things simultaneously: it freezes the mix quickly, which keeps the crystals small, and it beats in air. That air is called overrun, the percentage by which the volume grows. Premium dairy-free pints run low, often 20 to 40 percent, for a dense scoop, while cheaper pints whip in more to stretch volume. One study of plant-protein frozen desserts measured overrun between roughly 38 and 48 percent depending on the protein, with brown rice protein whipping the highest and pea the lowest. That is a useful reminder that your base, not just your machine, sets how much air the mix can actually hold.
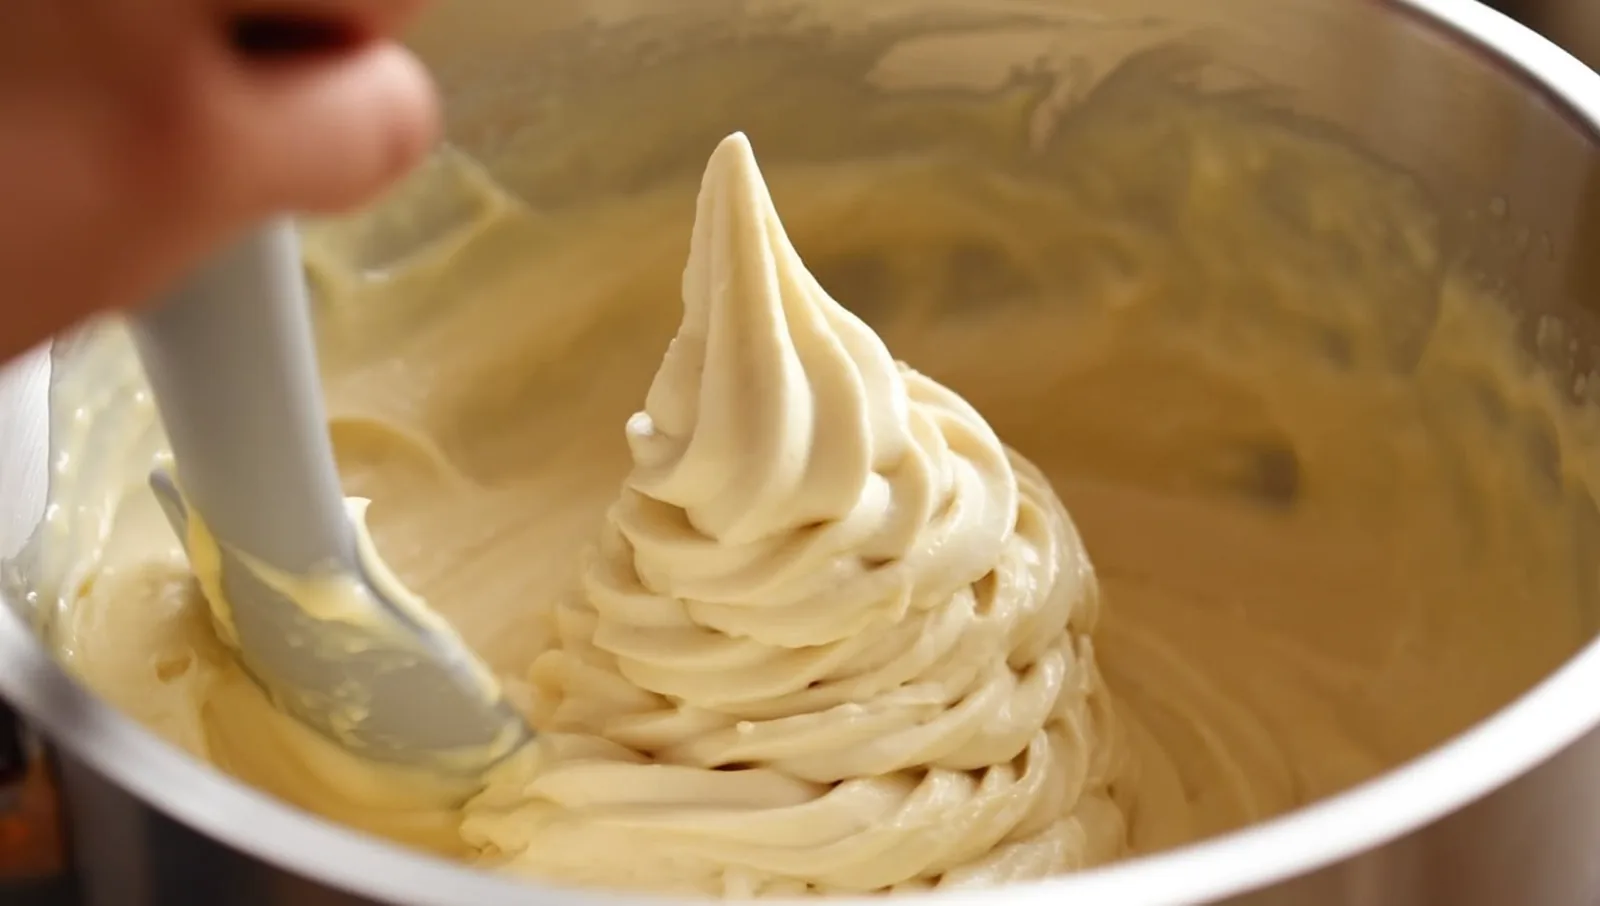
Two habits make churning work. Chill the mix cold first, ideally an overnight rest in the fridge, because the faster it freezes the smaller the crystals stay. And stop churning at soft-serve consistency. Push past that and friction starts melting what you just froze.
Flavor Infusion
Add flavor where it will survive the freeze. Vanilla, cocoa, and extracts go straight into the mix. Whole aromatics like mint leaves, coffee beans, or toasted coconut steep best when you warm them gently in the base, then strain them out before chilling and churning. Fold chunks, swirls, and cookie pieces in by hand at the very end of churning, once the base is thick enough to suspend them, or they sink straight to the bottom. Acidic fruit goes in cooked or as a ripple, never raw into a hot base, where the acid can curdle and split the emulsion.
Hardening and Scoopability
Straight out of the machine, ice cream is soft serve. It needs a few hours in the coldest part of the freezer to harden properly, ideally in a shallow container with parchment pressed to the surface to block both ice crystals and freezer odors. Eat it within a couple of weeks. Quality genuinely fades in storage, and one study tracking plant-based frozen desserts across 90 days found sensory scores highest on day zero and falling steadily from there.
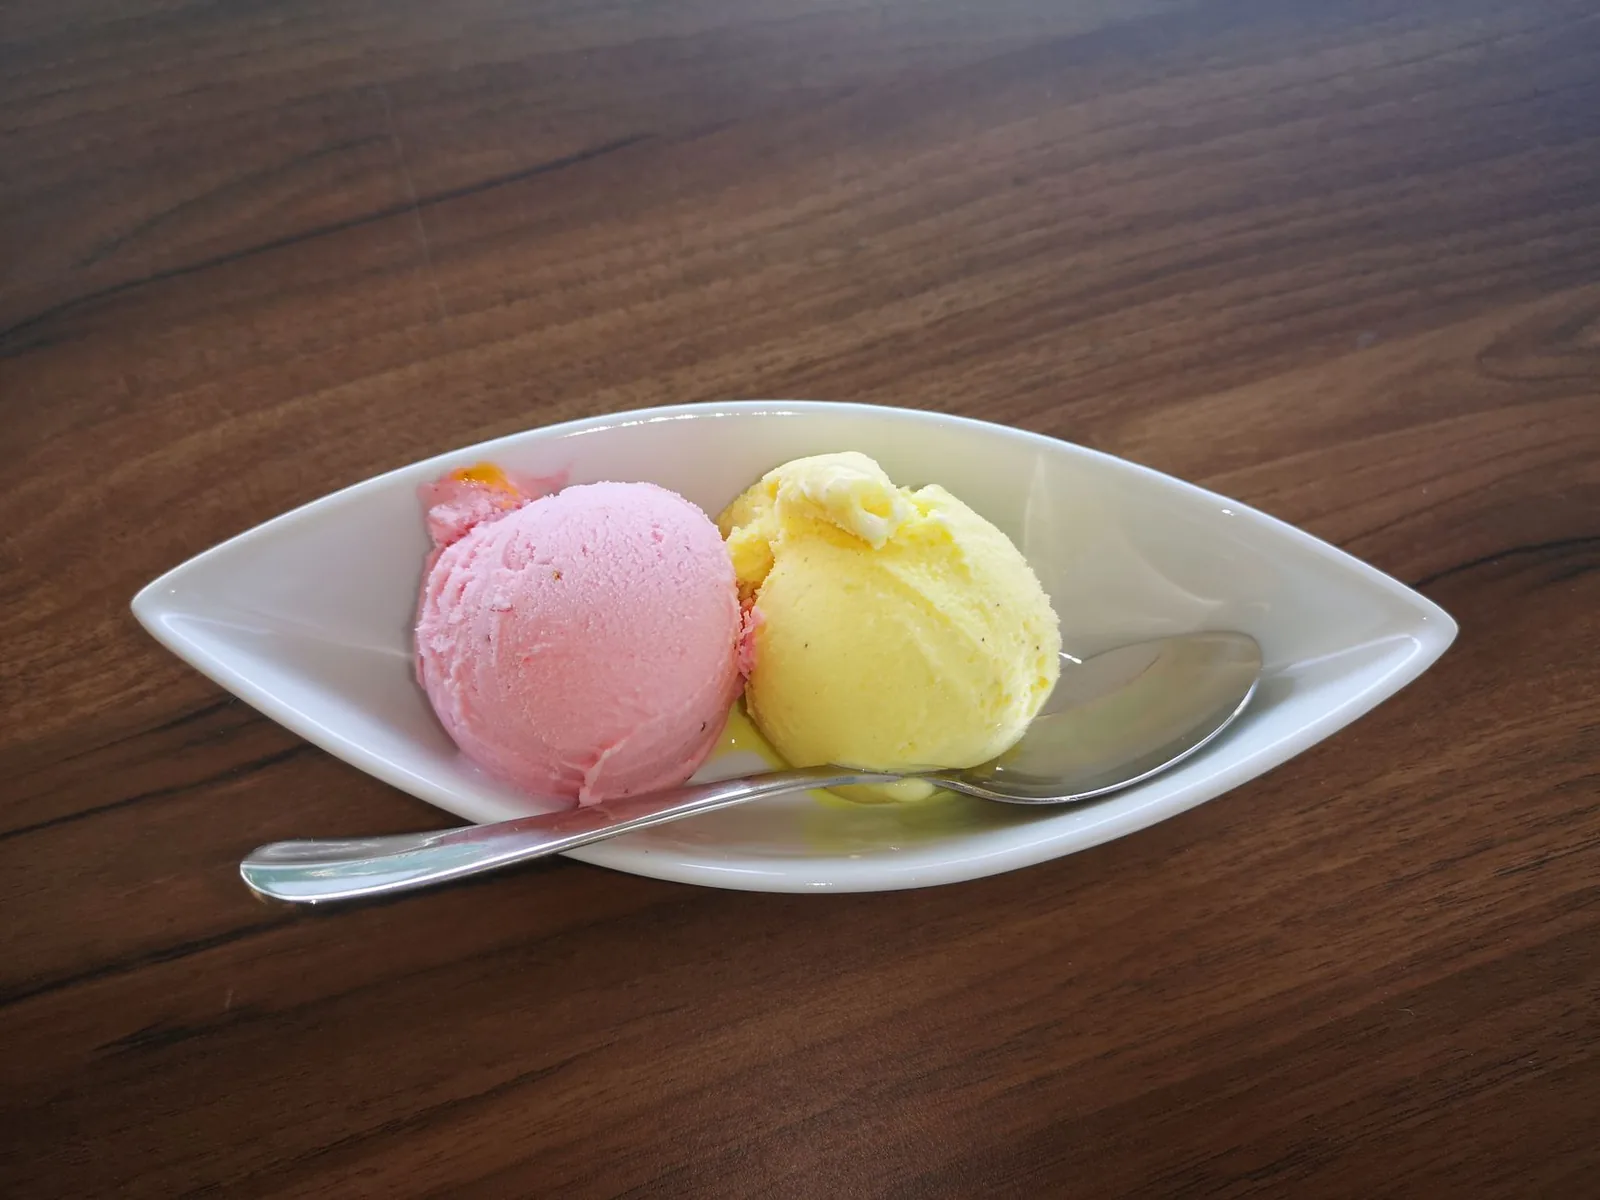
Scoopability is the flip side of hardening. If your finished pint is rock solid, the real fix is usually a little more sugar (which lowers the freezing point) or a touch more fat, not a warmer freezer. A short ten-minute temper on the counter before serving handles the rest.
The Troubleshooting Matrix
Four textures tend to fail, and each one points straight back to a number above.
Icy or coarse. Too much free water, too little fat or sugar, or freezing that happened too slowly. Add fat or solids, nudge the sugar up, chill the mix colder before churning, and freeze the finished batch fast in a shallow pan.
Rock hard, will not scoop. Too little sugar or fat, so nothing is depressing the freezing point. Raise the sugar back into range, or borrow the bartender’s trick of a tablespoon of neutral vodka per quart, which lowers the freezing point without adding flavor. Then temper before serving.
Gummy or gluey. Too much stabilizer, usually xanthan or guar overdosed. Cut the gum back toward 0.2 to 0.3 percent and lean on a guar and locust bean blend instead. That same cohesive, sticky quality shows up in lab studies whenever plant gums and proteins are pushed too high.
Split, greasy, or grainy. The fat emulsion broke, which happens most often when a coconut base is boiled hard or raw acidic fruit goes in too early. Add an emulsifier (a little sunflower or soy lecithin), blend the warm base thoroughly, and keep acidic add-ins as a late ripple.
Where Every Recipe Comes Back To
This is the loop the whole site runs on. Pick a base, balance the four numbers, churn cold, harden shallow, then read the texture to correct the recipe. Once those fundamentals are muscle memory, the recipes are just variations on a theme: a dairy-free shake built on a scoop you made yourself, a sorbet that drops the fat entirely (see how that changes things in gelato versus sorbet), or a custom pint that finally scoops like the good stuff. Make it, taste it, adjust one number, and make it again.
Further reading (sources)
- Food Science & Nutrition on how brown rice, pea, and soy proteins change overrun, hardness, and melt
- Journal of Texture Studies for why protein-thickened plant desserts turn cohesive and sticky
- Journal of Food Science and Technology with how plant-based frozen desserts hold up across 90 days of storage
- Minimalist Baker covering how to blend and strain your own dairy-free milks at home
- Slurrp on a no-churn lactose-free batch for a dairy-free summer